With just a click of your smartphone's camera, you can scan receipts and invoices and send them to a SharePoint folder. In the past, small businesses have struggled to keep up with the laborious task of recording and tracking expenses, but the long process of scanning and saving is long gone. In this article, we explain how to manage receipts with OneDrive for Business and keep on top of your finances with ease.

If you have an Office 365 subscription, then you almost certainly have access to OneDrive for Business, which has a handy feature that allows you to use your phone or tablet to scan in receipts, invoices and other similar documents. You simply scan in the receipt, check that it’s legible, name it and then save it to your device, which automatically syncs it to your OneDrive for Business folder.
You can even scan in multiple pages and have it combine them into one file. With the receipt scanned into a folder, this folder can then be shared with your accounting team. You could even use automation to copy those files to your company’s credit card receipt folder.
How to manage receipts with OneDrive for Business
1. On your Apple or Android phone or tablet, open up the Microsoft OneDrive app (there is one app for both OneDrive and OneDrive for Business).
2. Sign in using your Office 365 credentials.
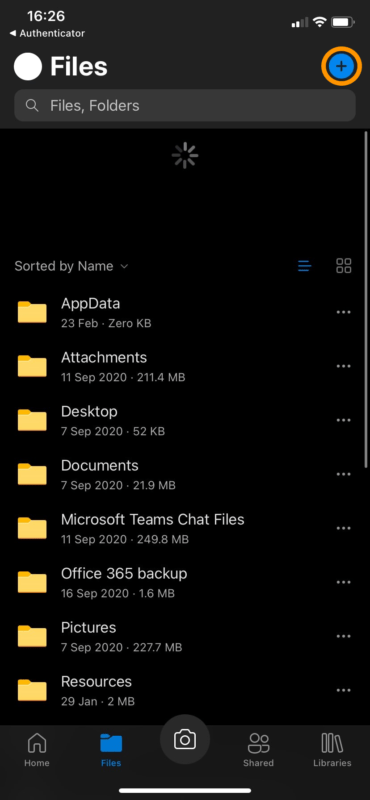
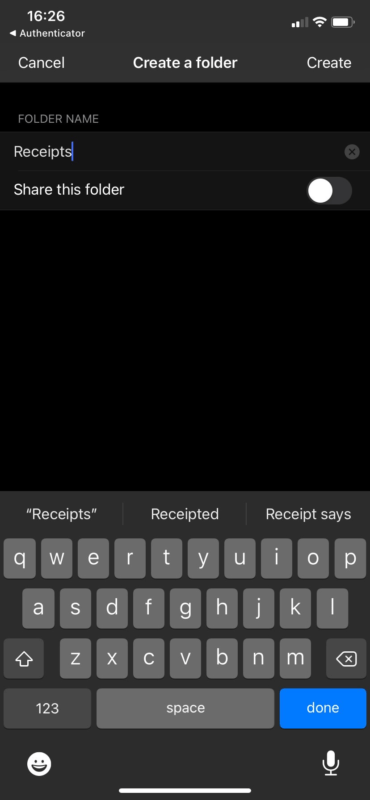
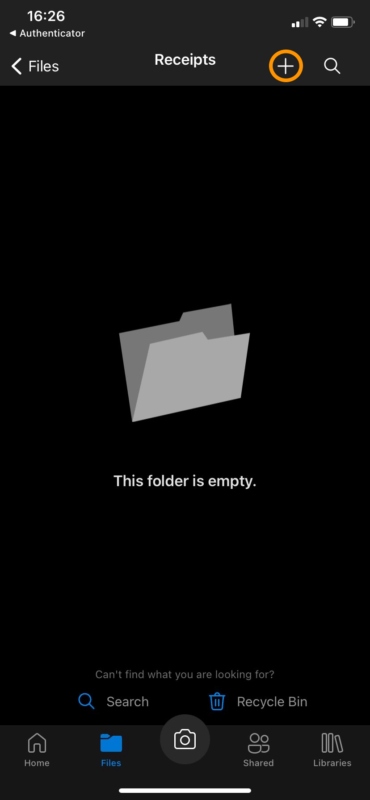
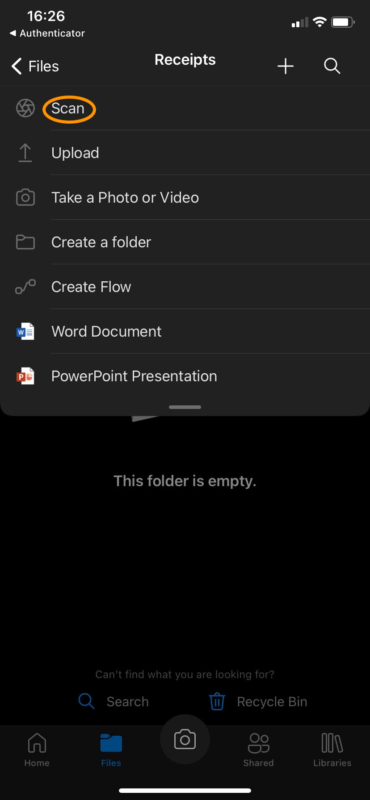
3. Navigate to a folder, or create a new folder, in which to save your receipts.
4. Click on the + option at the top right of the window. Select Scan and a camera app will appear.
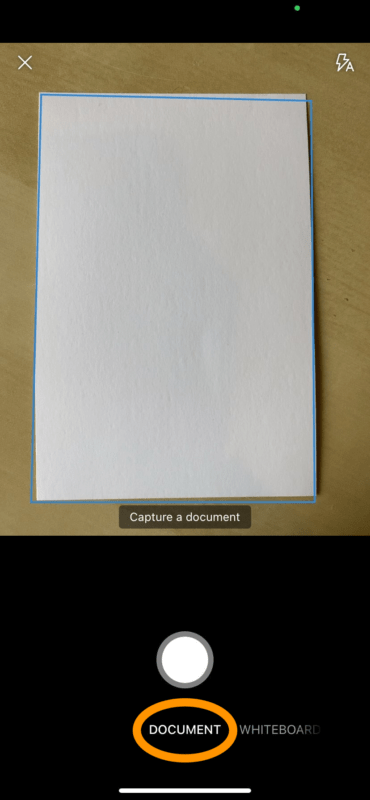
5. Check that the document selection is selected (bottom of the window). Place your receipt on a flat surface and hold your device over the receipt. A frame will appear as OneDrive tries to work out the shape of the document.
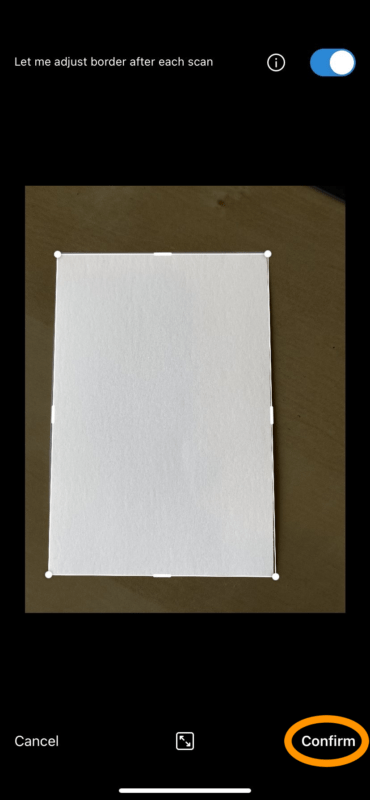
6. Adjust the position until the frame is on the edge of the receipt, then press the camera button to take a picture.
7. It will then scan the receipt and display it on the screen. You can check it looks ok and perform basic cropping or rotation tasks. When you’re happy, press Confirm.
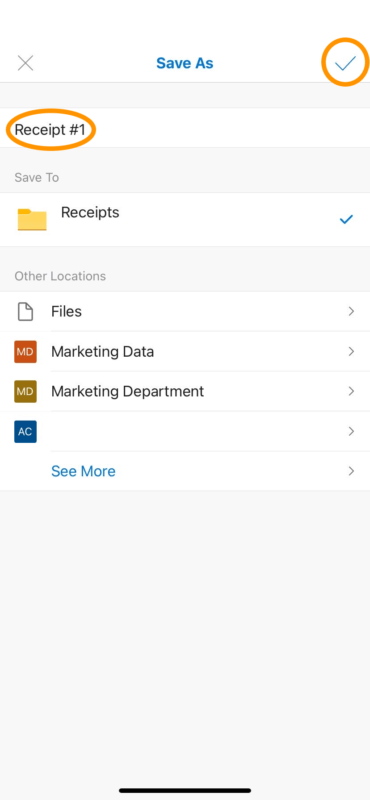
8. If necessary, you can click the ‘Add’ button at the bottom, scan in another receipt and append it to the previous one so you only have one receipt file. This is useful when your expense receipt goes over one page. If you only have one document to scan, simply click ‘Done’. Name the file according to your company’s receipt naming convention, for example, ‘20170921 – MJ – Train – Customer A’.

The great thing about this is you can do it as soon as you get the receipt or soon after – no more bundling all your receipts together and waiting until you get back to the office.
This feature doesn’t have to stop at receipts, either – it can be used as your personal scanner for almost anything.
Want more tips and tricks on how IT can make your life easier?
For more insights on how your business can succeed through technology, check out our blog which features our news, views and how-to’s, such as how to create an IT budget.
If you’d like to know more about our managed IT services, including IT support, comms, business intelligence and cyber security, please don’t hesitate to get in touch with our expert team.